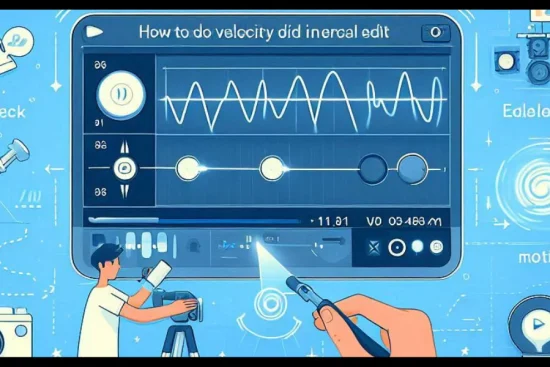
Velocity edits have become increasingly popular in video editing, adding dynamic and eye-catching effects to your content. Alight Motion, with its powerful set of tools, allows you to create stunning velocity edits right from your mobile device. In this tutorial, we’ll guide you through the process of creating velocity edits in Alight Motion, step by step.
What is a Velocity Edit?
A velocity edit, also known as a speed ramping effect, involves changing the speed of your video at specific points to create a dynamic, flowing sequence. This technique can add emphasis to certain moments, create a sense of rhythm, or simply make your video tool more visually interesting by video tool.
Steps to Create Velocity Edits in Alight Motion:
1. Import Your Video
– Open Alight Motion setting and create a new project
– Import the video you want to edit by tapping the “+” icon and selecting “Import Media”
2. Add Your Video to the Timeline
– Drag your imported video onto the timeline
3. Split Your Video
– Use the razor tool to split your video at the points where you want to change the velocity
– To do this, move the playhead to the desired point and tap the “Split” icon
4. Adjust the Speed
– Select a video segment you want to adjust
– In the properties panel, find the “Speed” option
– Adjust the speed using the slider or by entering a specific value
– Values below 100% will slow down the clip, while values above 100% will speed it up
5. Add Keyframes for Smooth Transitions
– To create smooth speed changes, use keyframes
– Tap the stopwatch icon next to the “Speed” property to add a keyframe
– Move the playhead to where you want the speed to change
– Add another keyframe and adjust the speed
6. Repeat and Refine
– Repeat steps 4 and 5 for each segment of your video
– Experiment with different speed values to achieve your desired effect
7. Add Transitions (Optional)
– To smooth out the cuts between speed changes, consider adding transitions
– Select the point between two clips and choose a transition from the effects panel
8. Fine-tune Your Edit
– Preview your velocity edit and make adjustments as needed
– Pay attention to the flow and rhythm of your edit
Advanced Tips for Velocity Edits:
1. Use Curve Editor
– For more precise control over your speed changes, use the curve editor
– This allows you to create non-linear speed adjustments
2. Combine with Other Effects
– Experiment with combining velocity edits with other effects like blur or color adjustments to enhance the impact
3. Match Music Beats
– Try syncing your velocity changes with the beat of your background music for a more cohesive edit
4. Use Reverse Speed
– Don’t forget you can also reverse the playback of clips for interesting effects
5. Experiment with Extreme Speeds
– Try using very slow (e.g., 10%) or very fast (e.g., 500%) speeds for dramatic effect
Troubleshooting Common Issues:
1. Choppy Playback: If your preview is choppy, try reducing the project resolution or rendering a draft version
2. Audio Sync: Be aware that changing video speed can affect audio sync. Consider muting the original audio and adding a separate music track and download video.
3. Export Issues: If you encounter export problems, try reducing the project complexity or exporting at a lower resolution
To get free membership just visit: Premium features
Conclusion:
Creating velocity edits in Alight Motion is a powerful way to add visual interest and dynamic flow to your videos. With practice, you’ll be able to create smooth, professional-looking velocity edits that captivate your audience. Remember to experiment with different speeds, transitions, and effects to develop your unique style. Happy editing!
To delete account visit: Delete account


